Sunday 24 November 2019

The one with the socks

Falling Snow Boot Socks


These beauties are crocheted using Aran weight yarn with a 5mm hook and best of all, you can knock them up in no time. 


I'm not going to waffle on, let's face it - you're here for the pattern, but let me explain a few things first: 
  • I used the beautiful 'Leader of the Pac' yarn from Hobbycraft (paid for by me - no affiliate either). You'll need one ball of each colour, but it's usually available on a three-for-two offer, so I'd recommend getting three, obvs. 
  • I ran out of my main colour (only just) so I had to make my cuff in the contrasting colour. If you get two balls of your main colour, you'll have enough. If you want to make a contrasting toe, heel and cuff, you'll have enough yarn in one ball, too.
  • By carrying the contrast colour around, you reduce the amount of stretch; if you want a more stretchy sock, leave out the contrast pattern, or use it more sparingly.
  • Watch your tension - especially when working the contrast colour (don't pull this too tight). My advice is not to worry too much, just don't leave it too long before making your second sock or work two at a time so that you end up with two socks of a similar size.
  • The sock is worked from the toe in continuous rounds (the pattern will tell you when to join). The heel is worked in rows and then the leg and cuff are in rounds.
  • When the pattern says '3dc', it means make 1dc in each of the next 3 sts; if the pattern says '3dc in next st' it means put 3dcs into the next stitch.
  • My sock fits me - I'm a UK 6. The pattern tells you how to alter it to fit you.  

Pattern in UK terms 

(for US terms, read dc as sc and tr as dc)

You will need:
1 x 100g ball each of Knitcraft Leader of the Pac in Cream and Mink (read above note)
5mm hook
4mm hook (for cuff)

Or you could substitute any Aran weight yarn and suitable hook

Gauge: 10cm x 10cm: 13.5 sts and 15 rows in pattern 
Size: to fit UK size 6 / US 8 / EU 39 (see pattern for size alterations) approx length from toe to heel: 20cm, sock height from heel to cuff: 20cm, width: approx 10cm (folded flat)

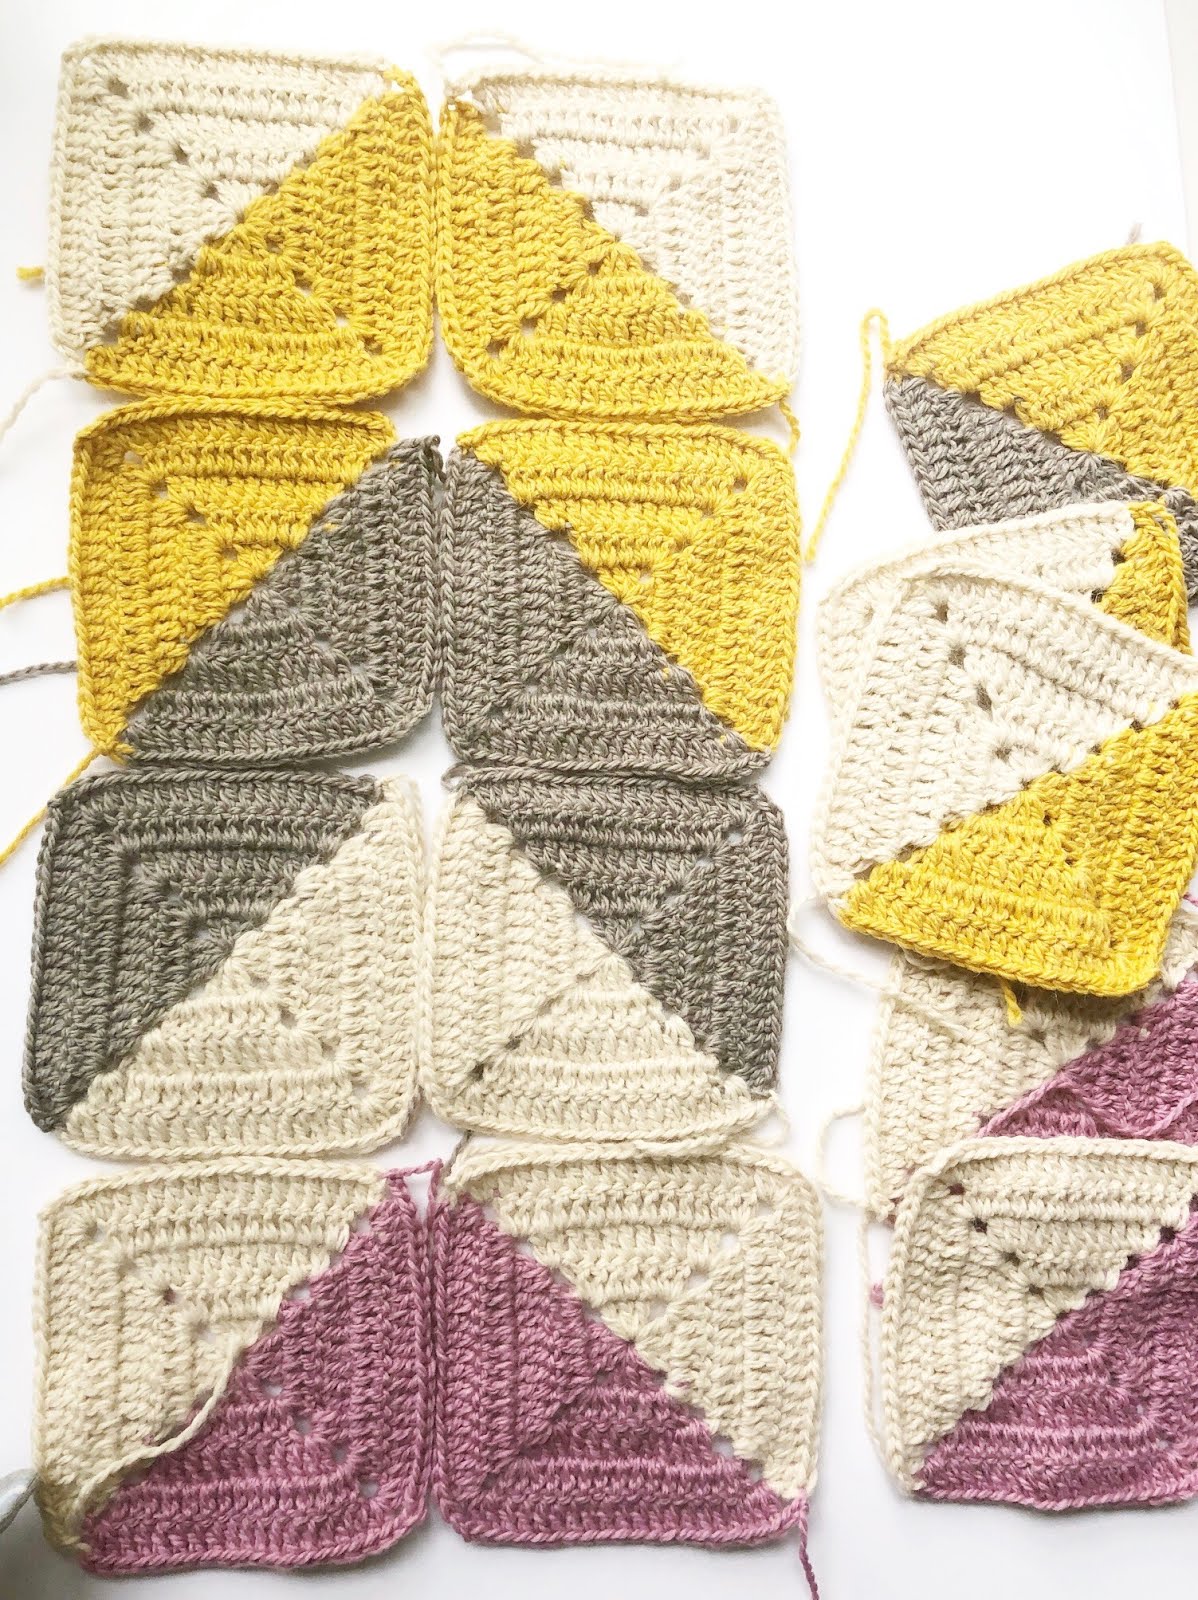
To make the contrast pattern:

Rnd A: *1dc in main colour, hook into next st, pull contrast colour through st, yarn over in main colour; rep from *around. 
Work over the ends of the contrast colour as you crochet around, dropping it for the next round and picking it up again when you need it next.
Rnd B: in main colour, 1dc in each st.

Repeat rounds A and B


Make 2


Toe


In main colour, 7ch
Rnd 1: Beginning in 2nd ch from hook, 5dc, 3dc in next st, turn to work other side of ch, 4dc, 2dc in next st. (14 sts)
Rnd 2: (6dc, 3dc in next st) rep around. (18)
Rnd 3: 7dc, 3dc in next st, 8dc, 3dc in next st, 1dc. (22)
Rnd 4: 8dc, 2dc in next st, 10dc, 2dc in next st, 2dc. (24)
Rnd 5: 1dc in each st around.
Rnd 6: 1dc, (2dc in next st, 5dc) x 3, 2dc in next st, 4dc. (28) - add or decrease more stitches in this round if you need to - don't worry about where they are put in or taken from, it won't matter too much at this stage. Make sure your total number of stitches is EVEN.

Rnds 7 - 31**: 1dc in each st around: Begin V pattern with contrasting colour.

** or until sole section reaches the end of your instep, just where your heel begins.


Heel


The total number of stitches in your sock will affect the number of stitches in your heel turns. No matter what, the process is the same: halve the number of stitches and work the stitches suggested:
The 1ch at the beginning is a turning chain and doesn't count as a stitch.

For my socks: 

Row A: in main colour, 14dc, turn 
Row B: 1ch, 9dc, turn,
Row C: 1ch, 4dc, turn.

For your socks: 

Total number of stitches in round in bold
30 (15, 10, 5)
26 (13, 9, 4)
24 (12, 9, 3)
22 (11, 7, 3)
20 (10, 7, 4)

Heel turn


Here, you will crochet across the heel, picking up an extra stitch from 3 rows below each time. This creates the heel shaping.

Rows D onwards: 1ch, 1dc in each st, 1dc in next st from 3 rows below, turn.

Continue Row D until you have regained the same number of stitches from the heel, then continue working the V pattern in rounds around the leg of the sock:


Rnds 32 - 47 ***: In V pattern, 1dc in each st around until leg height reached, sl st to 1st dc to join rnd.

***until height of sock is reached.


Cuff


Drop down a hook size for a tighter fit - 4mm

Rnd X: 2ch, 1tr in same st, 1tr in each st around, sl st to first tr to join.
Rnd Y - Z: 2ch, 1tr in same st, 1fptr, (1tr, 1fptr) rep around, sl st to first tr to join.

Fasten off, weave in all ends.


Enjoy your socks and stay cosy!

Sarah xx


Friday 30 August 2019

Labour of Love Blanket

Not for a second did I think that my throw-away comment on Instagram would be taken seriously, or replied to by so many people.


You see, I'd started this project waaaaaaaay back a billionty years ago, after a meeting with the Stylecraft gang up at headquarters, when they first unveiled their new yarn; Linen Drape. Oh how me and my fellow Blogstars ooooooed and ahhhhhhed over its lovely colours and of course, its, er, drapey-ness. Perfect for a so many projects, but I fancied a big granny square.

So I started it. 

And I enjoyed adding rounds here and there.


And then it got a bit lost in everything else I was doing and I realised that I just didn't have the time to complete it. So I mentioned this on IG and the comments started coming in ...

... and it wasn't just people admiring the colours (because they ARE gorgeous); there were a few people who genuinely wanted to finish it for me.

I chose Ruth from Labours of Love Crochet (find her Instagram account here) because I've spoken to her (in the social media sense - you know what I mean) several times, and she's always struck me as such a kind, thoughtful and genuine soul; just the person I could trust to do this for me. And that was it - I sent the blanket and yarn and after a few short weeks and messages about colour choices and bordering (I left these to her discretion), Ruth had finished it for me!


And it's PERFECT - honestly - you cannot tell where I started and she has finished (except for a sweet little stitch marker Ruth added) - our tension and stitch formation are exactly the same and her colour choices are gorgeous.

Ruth, here's a BIG THANK YOU from me (and all the free patterns from my shop you'll ever want).

And so, it seems only right that it be called:

The Labour of Love blanket


Here's all the pattern details for anyone who would like to make their own (and no, you may NOT ask Ruth to finish yours!):

You will need:
Stylecraft Linen Drape 1 x ball each of Natural (3901), Lime (3902), Wheat (3903), River (3904), Peacock (3905), Coral (3906), Sangria (3907), Cranberry (3908)
4.5mm hook

Finished size approx 95 x 95 cm (depending on tension)

Tension - using a 4.5mm hook, we made 9 rounds to fit 10 cm / 4 in
Pattern 
The blanket is made using a classic granny square pattern (see below). To prevent the square from twisting, we turned it over every round and worked in the opposite direction.

Make a standard granny square, changing colour every round in the following order:

Cranberry, Peacock, Lime, River, Natural, Lime, Sangria, Coral, Wheat, Cranberry, (10 rounds)
Peacock, Natural, Lime, Cranberry, Coral, Wheat, River, Natural, Peacock, Sangria, (20 rounds)
Coral, Lime, Wheat, Natural, Cranberry, River, Coral, Sangria, Lime, Natural, (30 rounds)
Peacock, Natural, Cranberry, River, Sangria, Coral, Lime, Natural, Sangria, River (40 rounds)
Cranberry, Wheat, Peacock (43 rounds)

Border
This is where you'll play yarn-chicken a bit, depending on tension. Ruth managed to make 8 rounds of linen stitch (pattern below). Make colour changes in the following order:

Sangria, Natural, River, Cranberry, Wheat, Coral, Peacock, Lime (8 rounds)
In Coral make a sl st in every stitch.

Beautiful border of simple, linen stitch

Granny Square Pattern UK Terms


Ch 4, join with a sl st to make a ring.
Rnd 1: 3ch (counts as first tr), all into ring: 2tr, 2ch, *3tr, 2ch; rep from * twice more, join with a sl st to top of 3ch. (12 tr, 8 ch)
Rnd 2: sl st across to 2ch-sp, (3ch [counts as 1tr throughout], 2tr, 2ch, 3tr) in same 2ch-sp, *(3tr, 2ch, 3tr) in next 2ch-sp; rep from * twice more, join with a sl st to top of 3ch. (24 tr, 12 ch)
Rnd 3: sl st across to 2ch-sp, (3ch, 2tr, 2ch, 3tr) in same 2ch-sp, *3tr between clusters, (3tr, 2ch, 3tr) in 2ch-sp; rep from * twice more, 3tr between clusters,, join with a sl st to top of 3ch. (36 tr, 16 ch)
Rnds 4 onwards: sl st across to 2ch-sp, (3ch, 2tr, 2ch, 3tr) in same 2ch-sp, *3tr between clusters to corner, (3tr, 2ch, 3tr) in 2ch-sp; rep from * twice more, 3tr between clusters to corner, join with a sl st to top of 3ch.

Border Pattern UK Terms: 
Rnd 1: In any 2ch-sp, *1dc, 1ch, sk 1 st; repeat from * to next 2ch-sp, (1dc, 2ch, 1dc) in 2ch-sp. Repeat from beginning of round 1 around square until final 2ch-sp, 1dc, 2ch, join to first dc with sl st.
Rnds 2 onwards: In any 2ch-sp, 1dc, *1ch, sk 1 st, 1dc in 1ch-sp; repeat from * to next 2ch-sp, (1dc, 2ch, 1dc) in 2ch-sp. Repeat from beginning of round 2 around square until final 2ch-sp, 1dc, 2ch, join to first dc with sl st.

Final round: In coral, make a sl st in every stitch around.


Granny Square Pattern US Terms

Ch 4, join with a sl st to make a ring.
Rnd 1: 3ch (counts as first dc), all into ring: 2dc, 2ch, *3dc, 2ch; rep from * twice more, join with a sl st to top of 3ch. (12 dc, 8 ch)
Rnd 2: sl st across to 2ch-sp, (3ch [counts as 1dc throughout], 2dc, 2ch, 3dc) in same 2ch-sp, *(3dc, 2ch, 3dc) in next 2ch-sp; rep from * twice more, join with a sl st to top of 3ch. (24 dc, 12 ch)
Rnd 3: sl st across to 2ch-sp, (3ch, 2dc, 2ch, 3dc) in same 2ch-sp, *3dc between clusters (3dc, 2ch, 3dc) in 2ch-sp; rep from * twice more, 3dc between clusters, join with a sl st to top of 3ch. (36 dc, 16 ch)
Rnds 4 onwards: sl st across to 2ch-sp, (3ch, 2dc, 2ch, 3dc) in same 2ch-sp, *3dc between clusters to corner, (3dc, 2ch, 3dc) in 2ch-sp; rep from * twice more, 3dc between clusters to corner, join with a sl st to top of 3ch.

Border Pattern US Terms: 
Rnd 1: In any 2ch-sp, *1sc, 1ch, sk 1 st; repeat from * to next 2ch-sp, (1sc, 2ch, 1sc) in 2ch-sp. Repeat from beginning of round 1 around square until final 2ch-sp, 1sc, 2ch, join to first sc with sl st.
Rnds 2 onwards: In any 2ch-sp, 1sc, *1ch, sk 1 st, 1sc in 1ch-sp; repeat from * to next 2ch-sp, (1sc, 2ch, 1sc) in 2ch-sp. Repeat from beginning of round 2 around square until final 2ch-sp, 1sc, 2ch, join to first sc with sl st.
Final round: In coral, make a sl st in every stitch around.


I do hope you enjoy making your own Labour of Love Blanket, Ruth and I certainly did!!

Sarah xx

Tuesday 13 August 2019

Granny Square Day 2019!

Granny Square Day 2019 is finally here!!!


I was absolutely thrilled when Simply Crochet Magazine asked myself, along with fellow designers,  Sharna Moore, Dedri Uys and Katie Jones to be Granny Square Day ambassadors for its 6th year and create our own squares to celebrate this wonderful and ever-popular motif. 


Recently, I've ben enjoying the simplicity of a solid granny square, made in two colours - I think the possibilities of creating patterns by how they are arranged is fascinating and with this in mind, I knew it would be the basis of my design. 

Here's an arrangement of two-tone squares to create a chevron effect. Clever, eh?

Hook up one to join in today, or make loads and turn them into a fabulous cushion or blanket.

Textured Solid Granny UK terms

Special abbreviations: bptr (back post treble) fptr (front post treble)


Rnd 1: Using colour A, 4ch (counts as 1ch and 1tr), (2tr, 2ch, 3tr, 1ch change to colour B, 1ch, 3tr, 2ch, 3tr, 2ch ) in 4th ch from hook. Join with sl st to top of beginning ch. TURN.

Rnd 2: 1ch, 1sl st into 2ch-sp, (3ch, 1tr) in 2ch-sp, 1tr, 1bptr, 1tr, (2tr, 2ch, 2tr) in 2ch-sp, 1tr, 1bptr, 1tr, (2tr, 1ch, pick up colour A, 1ch, 2tr) in 2ch-sp, 1tr, 1bptr, 1tr, (2tr, 2ch, 2tr) in 2ch-sp, 1tr, 1bptr, 1tr, (2tr, 2ch) in 2ch-sp. Join with sl st to 3ch. TURN.

Rnd 3: 1ch, 1sl st into 2ch-sp, (3ch, 1tr) in 2ch-sp, 3tr, 1fptr, 3tr, (2tr, 2ch, 2tr) in 2ch-sp, 3tr, 1fptr, 3tr, (2tr, 1ch, pick up colour B, 1ch, 2tr) in 2ch-sp, 3tr, 1fptr, 3tr, (2tr, 2ch, 2tr) in 2ch-sp, 3tr, 1fptr, 3tr, (2tr, 2ch) in 2ch-sp. Join with sl st to 3ch. TURN.

Rnd 4: 1ch, 1sl st into 2ch-sp, (3ch, 1tr) in 2ch-sp, 5tr, 1bptr, 5tr, (2tr, 2ch, 2tr) in 2ch-sp, 5tr, 1bptr, 5tr, (2tr, 1ch, pick up colour A, 1ch, 2tr) in 2ch-sp, 5tr, 1bptr, 5tr, (2tr, 2ch, 2tr) in 2ch-sp, 5tr, 1bptr, 5tr, (2tr, 2ch) in 2ch-sp. Join with sl st to 3ch. TURN.

Rnd 5: 1ch, 1sl st into 2ch-sp, (3ch, 1tr) in 2ch-sp, 7tr, 1fptr, 7tr, (2tr, 2ch, 2tr) in 2ch-sp, 7tr, 1fptr, 7tr, (2tr, 1ch, pick up colour B, 1ch, 2tr) in 2ch-sp, 7tr, 1fptr, 7tr, (2tr, 2ch, 2tr) in 2ch-sp, 7tr, 1fptr, 7tr, (2tr, 2ch) in 2ch-sp. Join with sl st to 3ch. TURN.


Textured Solid Granny US terms

Special abbreviations: bpdc (back post double crochet) fpdc (front post double crochet)


Rnd 1: Using colour A, 4ch (counts as 1ch and 1dc), (2dc, 2ch, 3dc, 1ch change to colour B, 1ch, 3dc, 2ch, 3dc, 2ch) in 4th ch from hook. Join with sl st to top of beginning ch. TURN.

Rnd 2: 1ch, 1sl st into 2ch-sp, (3ch, 1dc) in 2ch-sp, 1dc, 1bpdc, 1dc, (2dc, 2ch, 2dc) in 2ch-sp, 1dc, 1bpdc, 1dc, (2dc, 1ch, pick up colour A, 1ch, 2dc) in 2ch-sp, 1dc, 1bpdc, 1dc, (2dc, 2ch, 2dc) in 2ch-sp, 1dc, 1bpdc, 1dc, (2dc, 2ch) in 2ch-sp. Join with sl st to 3ch. TURN.

Rnd 3: 1ch, 1sl st into 2ch-sp, (3ch, 1dc) in 2ch-sp, 3dc, 1fpdc, 3dc, (2dc, 2ch, 2dc) in 2ch-sp, 3dc, 1fpdc, 3dc, (2dc, 1ch, pick up colour B, 1ch, 2dc) in 2ch-sp, 3dc, 1fpdc, 3dc, (2dc, 2ch, 2dc) in 2ch-sp, 3dc, 1fpdc, 3dc, (2dc, 2ch) in 2ch-sp. Join with sl st to 3ch. TURN.

Rnd 4: 1ch, 1sl st into 2ch-sp, (3ch, 1dc) in 2ch-sp, 5dc, 1bpdc, 5dc, (2dc, 2ch, 2dc) in 2ch-sp, 5dc, 1bpdc, 5dc, (2dc, 1ch, pick up colour A, 1ch, 2dc) in 2ch-sp, 5dc, 1bpdc, 5dc, (2dc, 2ch, 2dc) in 2ch-sp, 5dc, 1bpdc, 5dc, (2dc, 2ch) in 2ch-sp. Join with sl st to 3ch. TURN.

Rnd 5: 1ch, 1sl st into 2ch-sp, (3ch, 1dc) in 2ch-sp, 7dc, 1fpdc, 7dc, (2dc, 2ch, 2dc) in 2ch-sp, 7dc, 1fpdc, 7dc, (2dc, 1ch, pick up colour B, 1ch, 2dc) in 2ch-sp, 7dc, 1fpdc, 7dc, (2dc, 2ch, 2dc) in 2ch-sp, 7dc, 1fpdc, 7dc, (2dc, 2ch) in 2ch-sp. Join with sl st to 3ch. TURN.


Join in the fun on Instagram on the 15th August and use the hashtag #grannysquareday2019.


Find our more about Granny Square Day here.

Enjoy the day!!
Sarah xx

Monday 17 June 2019

Summertime Mandala Cushion

Summertime ...


Strawberries and cream, Wimbledon on the telly, ice-creams, suncream, picnics and ...


... tempestuous rain, floods and turning on the heating.


Yes, if you live in the UK then you'll know that we're not really experiencing the summer of dreams, but a rather cold, wet version, which no-one is very keen on. So in an attempt to banish all miserable thoughts of our dreadful summer so far, here's a rather lovely (if I say so myself) colour palette using Stylecraft cotton (I've blogged about before here) which will give you ALL the summery feels.


Now, if truth be told I love a Mandala, but I'm never exactly sure what to do with it once I've made it - I've seen some lovely versions attached to hoops and hung on the wall, but I fancied something a bit different. And as I have practically NO cushions in my house (same goes for blankets and shawls, in case you're wondering) I thought I'd make a new one, and combine the two. Especially as I found a plain cushion cover in Hobbycraft for a total steal at £2 (find it here). 

Summertime Mandala (UK Terms)


Pattern Notes: 

Most rounds begins with a treble stitch, so make the first stitch of yours a chain of 2 or 3, depending on which you prefer. Some rounds begin with a tr2tog or tr3tog cluster. For the treble two together (tr2tog), make a chain of 2 and a treble stitch, for the treble three together (tr3tog), make a chain of 2 and then a standard tr2tog.
For rounds beginning with a double crochet stitch, make a standing double crochet, or chain 1, (doesn't count as stitch) and make 1dc in the same space.
At the end of each round, slip stitch to the first st of the round to join.

You'll need: 

40cm x 40cm plain cushion cover
Stylecraft Classique Cotton DK in Ivory (3665), Shrimp (3674), Peppermint (3691) and Apricot (3962)
4mm hook
Needle and thread in matching colour.

Rnd 1: In Ivory, 10tr in magic ring or ch4 (counts as 1ch + 1tr), 9tr in 4th ch from hook. (10 tr)
Rnd 2: In Apricot, 2tr in each st around. (20 tr)
Rnd 3: In Peppermint, 4tr between each 2tr cluster around. (40 tr)
Rnd 4: In Shrimp, *2tr between 4tr cluster, sk 2 sts, 2tr between stitches; rep from * around.
Rnd 5: In Apricot, 3tr between each 2tr cluster around. (60 tr)

Rnds 1 - 9

Rnd 6: In Ivory, 1dc, 3ch between each 3tr cluster around. (20 dc, 60 ch)
Rnd 7: 4tr in each 3ch-sp around. (80 tr)
Rnd 8: In Peppermint, *2tr between 4tr cluster, sk 2 sts, 2tr between stitches; rep from * around.
Rnd 9: In Apricot, 2tr between each 2tr cluster around.
Rnd 10: In Shrimp, 1dc, 2ch between each 3tr cluster around. (40 dc, 80 ch)
Rnd 11: 3tr in each 2ch-sp around. (120 tr)
Rnd 12: In Ivory, *1tr between 3tr cluster, sk 1 st, (1tr, 1ch, 1tr) in next st, sk 1 st; rep from * around. (120 tr, 40 ch)
Rnd 13: In Apricot, (tr2tog, 2ch, tr2tog) in each 1ch-sp around. (80 tr2tog, 80 ch)
Rnd 14: In Peppermint, (tr3tog, 2ch, tr3tog) in each 2ch-sp around. (80 tr3tog, 80 ch)
Rnd 15: In Ivory, *1dc in 2ch-sp, (4tr, picot, 4tr) in next 2ch-sp. (160 tr, 20 picot, 20 dc)

Rnds 8 - 15

Fasten off and weave in ends. Stitch to middle of cushion and enjoy!!

That's it - it couldn't be easier! And you don't have to make a cushion - you could use your mandala to decorate a plain tote bag, t-shirt, the back of a denim jacket... or it could just lie on a table, looking pretty.

Look what happens when I say 'Biscuits' ..

[Do note the sun was actually shining for the photos today - but we all know it's going to pee down tomorrow ...]

Enjoy,
Sarah x


Monday 25 March 2019

Mindful Crochet - A book Review

Mindfulness: a mental state achieved by focusing one's awareness on the present moment, while calmly acknowledging and accepting one's feelings, thoughts, and body sensations, used as a therapeutic technique*.


Mindfulness is extremely contemporary at the moment, and appropriately so; with increasingly hectic and busy lifestyles it's important that we take some time to focus inwardly and find a space and time to be calm and peaceful. 


Clinical studies show that mindfulness can help reduce anxiety, exhaustion and insomnia and can enhance the body's natural healing rhythms. It's no secret that crafts like knitting and crochet also have similar effects and can even slow the onset of dementia. So what better way to improve our physical and mental health than by combing the two?

Prayer Flag Garland

I was privileged to be asked to review a copy of Emma Leith's new book, 'Mindful Crochet'. On reading the introduction, Emma explains how crochet has changed her life and that it is '... the doorway to my happy place where pain and anxiety are softened and a state of peaceful acceptance resides ... it doesn't make the bad stuff go away, but can help transform it.'

Mindfulness Cowl

I couldn't agree more with Emma's thinking - I find crochet extremely relaxing (except when trying to wrestle with a particularly difficult pattern, or yarn that just won't do what I ask) and it's my favourite way to wind down after a long day. 

Prayer Beads Purse

Emma's book is split into four sections: Colour Therapy, Touch and Texture, Mindful Meditation and Caring and Sharing and has 35 beautiful projects with everything from small motifs and quick makes to larger ones which will take a little longer to complete. There are projects for the home, including bunting and flags, a table runner, a cushion and even a chandelier; and accessories – bag and purse, a desk tidy, shawls and scarves. Each project has a star rating which denotes the skill level required and the instructions are written in UK terms with clear descriptions of how to make the stitches in each round or row and detailed explanations of how to make up and finish each piece.

Boho Baskets

Dotted throughout the book are mindfulness reminders – helpful little tips and hints to put you on the right path as you work through the projects. These include practicing breathing techniques, helping you to focus on achievement and fulfilment and enjoying the rhythm of the stitches.


One thing that strikes me as I flick through the book is the wonderful range of colours popping out from every page – every project is photographed beautifully and looks very inviting. The yarn choices throughout range from cottons and acrylics to sock yarn and mohair. What I particularly like is that you could happily use whatever yarn you please, busting your stash or substituting for your favourite brands.

Kaleidoscope Mandala Mat

I'm thrilled to be able to give away a copy of Emma's lovely book to one lucky blog reader. All you have to do is enter below. The giveaway will end on the 2nd April 2019 and the winner will be notified by email. Entries welcome worldwide.

**** GIVEAWAY CLOSED ****


I'm waiting for a quiet moment in my schedule to have my own moments of mindfulness, but I cannot decide between the Kaleidoscope Mandala Mat or the Summer Sun Coasters ....

Enjoy your week,
Sarah xx

*From online dictionary
I was given a copy of the book in exchange for a review. All thoughts and opinions are my own.

Sunday 27 January 2019

Just a heart

Whether or not you celebrate Valentine's Day, there's something infinitely enduring about a heart.

So when my insta pal sweet_sharna announced she was running her #leavealittleheart campaign again this year, I decided I wanted in.


The premise is simple: make a little heart (knit, crochet, sew, origami etc.) and leave it for someone to find on February 14th. You could tie it to a park bench or hang it on a branch - the only advice I would give as a responsible yarn-bomber is that you don't want to be accused of littering, so why not attach a 'please take me' note your heart, so there's no confusion.


There's a story behind my heart pattern, too - or rather the yarn I used. You see, being one of the Stylecraft Blogstars, I've tried most of their yarns, except the Classique Cotton DK. It was when I travelled to Breidagen (the Dutch knitting festival) with the Stylecraft Team that I took part in Emma Varnham's workshop to make Billy Bear using, you've guessed it, Classique DK.


Well it quite literally blew me away! Now, I use a lot and I mean A LOT of cotton yarns in my design work - it's particularly brilliant for toys and motifs and has such a lovely finish, but it does have the tendency to be a bit splitty. But not this stuff - it's got just enough of a twist to keep the yarn from coming apart as you crochet with it, which is a revelation!! This means speedier work for me as I don't have to keep faffing around with my stitches. And being Stylecraft, it's affordable, good quality and in a great range of colours. And as it's my new favourite, I'm using it for everything at the moment. 


Now, there are approximately eleventy-billion free heart patterns out there, so here's another to add to them. You could leave yours for someone to find, or make a garland, or use as an appliqué. I've bought some little linen bags which I might add mine too - they'd make the perfect gift.


Obviously, I've used Stylecraft Classique Cotton DK ('cos I'm obsessed), but you could use whatever you fancy.

JUST A HEART PATTERN


I used:
3.5 mm hook
Stylecraft Classique Cotton DK in Dove, Peppermint, Poppy, Hot Pink, Fuchsia

UK terms:
Rnd 1: 3ch, in the 3rd ch from your hook make the following: 2tr, 1dc, 3tr, 2htr, 1tr, 2htr. Join to 3rd ch with sl st. (12 sts)
Rnd 2: 3ch, 1tr in same st, 2tr in next st, (2tr, 1htr) in next st, 1 spike dc into centre hole, (1htr, 2tr) in next st, (2tr in next st) four times, (1tr, 1dtr, 1tr) in next st, 2tr in next st twice. Join to 3rd ch with sl st. (26 sts)

Fasten off and weave in ends.

US terms:
Rnd 1: 3ch, in the 3rd ch from your hook make the following: 2dc, 1sc, 3dc, 2hdc, 1dc, 2hdc. Join to 3rd ch with sl st. (12 sts)
Rnd 2: 3ch, 1dc in same st, 2dc in next st, (2dc 1hdc) in next st, 1 spike sc into centre hole, (1hdc, 2dc) in next st, (2dc in next st) four times, (1dc, 1tr, 1dc) in next st, 2dc in next st twice. Join to 3rd ch with sl st. (26 sts)

Fasten off and weave in ends.

Enjoy making your little hearts and have fun spreading the love.

Sarah xx